

how to clean a chimney
If you buy an item via links on this page, we may earn a commission. Our editorial content is not influenced by commissions. Read the full disclosure.
It was a cold spring night when a lot of noise made its way into our home.
There was the clanging of metal and the sound of drills busy at work. Finally, you could hear a lot of grunting from what sounded like a bear in agony. There was no wildlife in our home, it was my husband installing our large wood-burning stove.
His 'grunt' came from moving the heavy stove.
However, finally, everything was in its right place, safely installed, and we lit our first fire. We have burned wood in our stove every winter since then.
Today we're going to talk about cleaning your wood stove. It's important to know how to clean your wood stove the right way, and you should do it regularly for safety and effectiveness.
Here is how you can maintain a clean wood burning stove:
1. It Should Be Cold to the Touch
Don't ever try to clean a wood stove while it has a fire in it, is still hot, or has recently had a fire in it. That is asking for a dangerous situation to occur.
The stove should be cold enough that you can touch it with your bare hands and not get burned in the slightest. You'll have to follow this step as you are about to be in ashes up to your elbows.
If there happen to be any hot coals, you will be burnt. Just remember that safety is always the most important thing when dealing with a wood stove.
After all, that is one of the main reasons to even bother cleaning it, right?
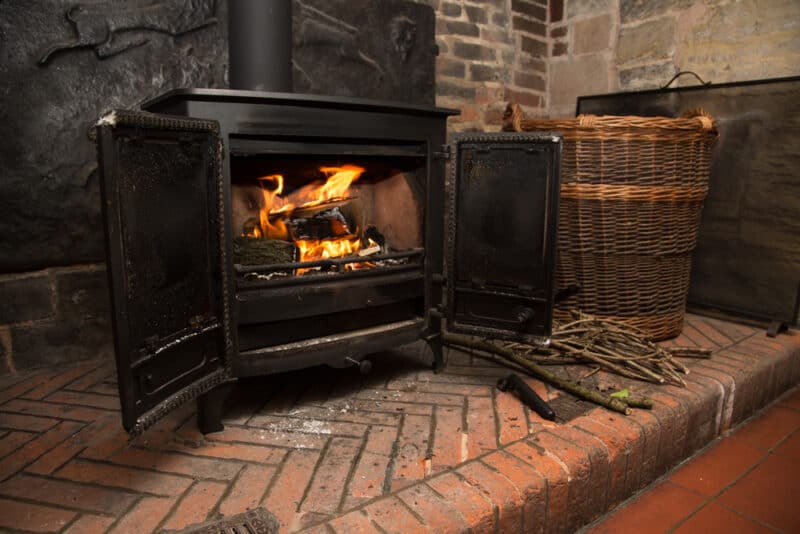
2. Declutter Your Fire Box
If you are unfamiliar with what the firebox is, it is the part of the wood stove where you actually load the wood and have the fire.
Naturally, this is one of the most important parts of the stove. Be sure to clean it thoroughly.
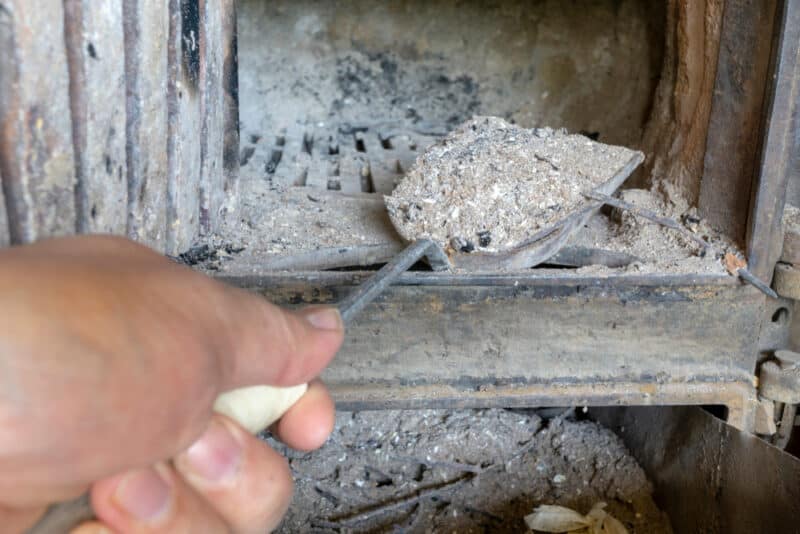
You'll begin by getting an ash bucket and using the shovel from your fire set to scoop out all of the old ashes. Get as much out as you possibly can.
Also, you want it as clean as possible so you can see the fire brick inside the stove. When cleaning, it is a good time to inspect the inside of your stove to make sure that there is nothing that needs repairs.
If so, you'll have to get it fixed immediately so you can safely burn wood inside your stove again as quickly as possible.
3. Empty Your Indoor Chimney
Some people have a chimney that is like an elbow shape that goes in the wall and out of the house. Mine goes straight up in the ceiling and through the roof. I actually like our set-up very much because the indoor chimney rarely gets very dirty.
However, we take it apart once a year to examine it, but because it is straight up and down, we burn really hot fires randomly through the year and my husband gently knocks on the chimney (before it gets too hot) and you can hear the debris fall back down into the fire and it burns up.
Regardless of what kind of stove you have, it is still a good idea to take the indoor chimney apart regularly. You'll have to mark how the chimney lines up and where the screws go so you can easily put the chimney back together when you are done.
Once the indoor chimney is apart, be sure that you clean out any creosote that may be built up in your chimney. If your chimney has too much of this build up it can catch and start a fire in your chimney, which you do not want.
You can use a wire brush to completely clean out your chimney.
4. Make the Door Shiny
If you burn wood inside your wood stove often you'll realize that the clear glass door that gives you such a great view of the beautiful fire dancing inside, easily turns into this smudged glass that has a layer of film over it.
Well, you don't want that. It blocks your great view and it makes your wood stove look bad.
It is time to clean it. You can try to use any glass cleaner and see if that will remove the film, but if not, then keep this glass cleaner in mind. It is made specifically for cleaning the glass of a wood stove.
5. Kick the Dust Out of the Ash Box
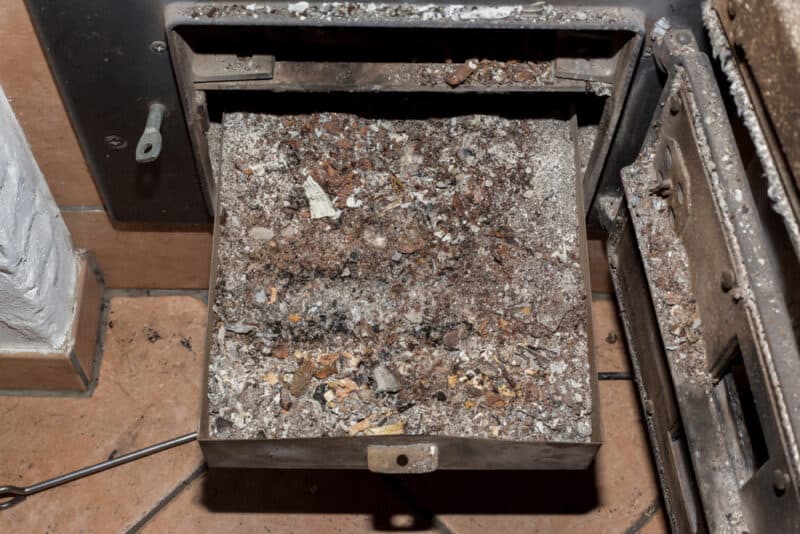
We have an ash box at the bottom of our woodstove. It is this little slide-out drawer that catches the overflow of ashes from the wood box. I really like it because it gives the ashes a place to go for a while to cool off.
That way I'm not throwing hot coals with ashes into my ash bucket. Nor are they ending up on my garden (because that is what we do with our wood ashes.)
This means you need to empty your ash box regularly so it doesn't overflow.
However, when you are cleaning out your stove you definitely need to empty it. That way everything on the wood stove is fresh and ready to start again.
Be sure that you don't forget this handy drawer in the process of cleaning out your wood stove. Also, I recommend using your trusty shovel from your fire kit when emptying it into your pail instead of trying to just dump the whole drawer out over the garden.
And the reason is that the pails usually have lids that keep you from tracking wood ashes through your home. It just makes less of a mess in the long run, in my opinion.
6. Clean the Ashtray
I clean our ashtray daily. The reason is that I am a super clean person, and I hate having ashes all over the place.
So of course, I clean it when I'm cleaning the woodstove. It is a simple task that consists of using the brush that came with my fire set. I simply run it over the ashtray and sweep the ashes into the pail.
7. Make the Outdoor Chimney Sparkle
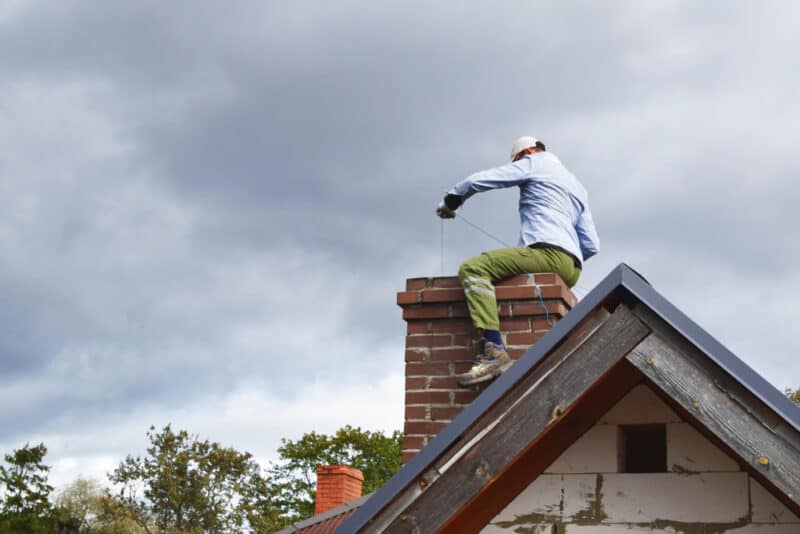
This next step requires a lot of safety measures to be taken. Most outdoor chimneys are on the roof. With that being said, you'll need a ladder.
Plus, it is a good idea to take someone with you. That way they can hold the ladder for you while also being there in case something were to happen like losing your balance or anything along those lines.
Next, you'll pull the cap off of the chimney. Then, using your wire chimney brush, run it all the way down inside the chimney. This will break up creosote that is built up inside your outdoor chimney.
Then it will land inside your wood stove and burn up instead of clogging up your chimney. Once you complete this task, don't get off the roof just yet.
8. Clean the Spark Box Vent
Our chimney has a spark box attached to it. It keeps any sparks that fly up through the chimney from landing on our roof and causing a fire.
However, our spark box gets clogged regularly so my husband has to clean it every so often.
And it definitely gets cleaned when we are thoroughly cleaning our wood stove. So while he is up on the roof, he takes the chimney wire brush and rubs it on the outside vents of the spark box. This breaks up any residue that clogs the vent holes.
That way our fire will be able to draw air instead of it just smoking because the holes in the vent are clogged.
As mentioned before, this is a very easy part of the cleaning process but one that needs to be done as needed so your fire will burn properly.
9. Put the Puzzle Back Together
After you've done all of these steps it is time to put the puzzle back together. You'll put the cap back on the chimney and be careful as you climb down from on top of the roof.
Then put your indoor chimney back together as well. Remember that you marked where all of the screws go and how the chimney was together in the first place?
Hopefully, that will make this step much easier for you.
Next, you'll dump all of your wood ashes out in your garden and rinse out your ash bucket so it stays nice and clean while waiting to be used again. This is also a good time to oil down your fireplace set. I use a piece of fatback or salted meat to oil mine.
However, you can use any kind of oil. Then let it sit by the fire to cure. It will keep your set looking nice and shiny. Remember, you'll only need to oil the set if it is made of iron.
Finally, if you keep a pot of water or kettle on your stove to get moisture in the air, now is a good time to top that off as well.
10. Sweep the Floor and Load the Wood
Before you are ready to start burning wood in your stove again, you'll have to ensure that everything around the stove is tidy too. This is a safety thing as well because if too many items are too close to the stove, then you are asking for trouble.
Use your broom and dustpan to sweep up any stray ashes around your stove area. Then move anything that might be laying around your stove that could potentially cause a problem.
Finally, fill the wood ring. I always use this time to make sure our wood, kindling, and fire starter are filled up. Plus, make sure your fire source is where it should be and working properly too.
Also, be sure to sweep around your firewood ring during this time too. The only downside to burning wood is the mess.
If you stay on top of it, it shouldn't get tracked all through the house. Which I know makes me much happier!
11. Watch it Burn

The last step to cleaning your wood stove is to light a fresh fire. A clean wood stove won't burn the same as one that is dirty. It is actually a little harder to start because there are no coals in the bottom to help it along.
So be patient with it, but do get the fire burning. That way you can see that everything is working properly and that your stove is ready to go for another season.
Well, that is all there is to clean a wood stove. It may sound like a lot but truthfully, it isn't. Depending upon speed, you should be able to have it cleaned top to bottom in around an hour or so.
Was this article helpful?
Yes No
how to clean a chimney
Source: https://morningchores.com/cleaning-wood-stove/
Posted by: piperphers1941.blogspot.com
0 Response to "how to clean a chimney"
Post a Comment